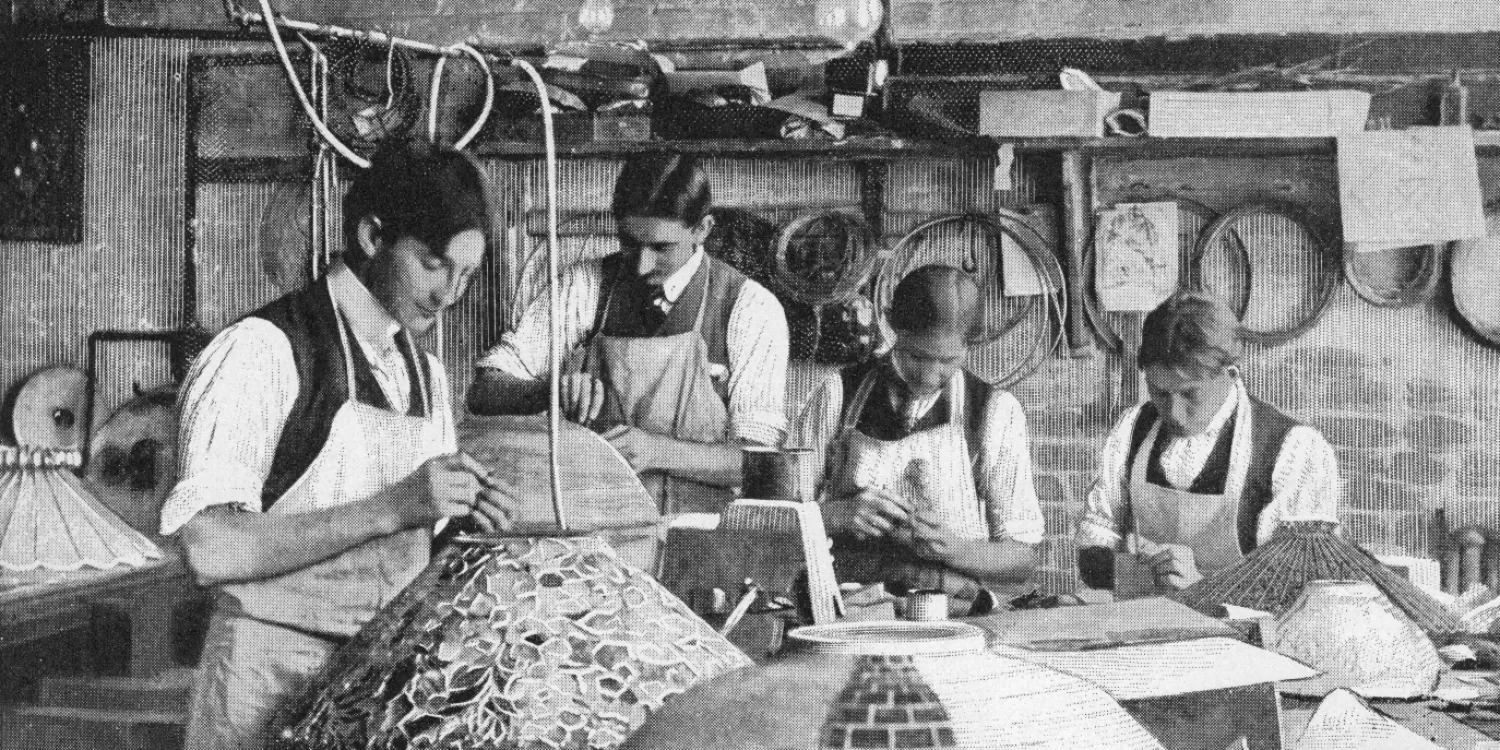
Above: Men fabricating Tiffany’s leaded-glass shades, ca. 1898.
From the January 1899 edition of “The Cosmopolitan” magazine.
The epitome of fine craftsmanship
Leaded-glass lampshades were first introduced at Tiffany’s studios in 1898. Their manufacture was a highly collaborative and labor-intensive process involving designers, glass selectors and cutters, glaziers, and more. From inception to completion, each shade passed through the hands of roughly a dozen different craftspeople, both male and female, and was a unique creation thanks to the individualized process of glass selection.
Foster a deeper appreciation of the beauty and complexity of Tiffany’s lamps by learning about the painstaking work that went into their production:
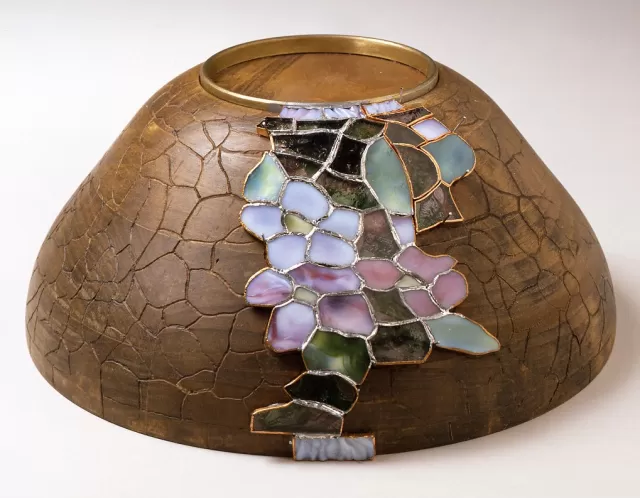
- The process began with a watercolor sketch of a proposed design. Once approved by Tiffany, a wooden mold was made. The design was inscribed onto the mold and patterns were created as guides to cut the glass.
- Each piece of glass was selected from a larger sheet. The glass selector faced countless options because every sheet of glass varied in color, shading, and opacity. After careful deliberation, the selector made a decision and with the pattern in place, handed the sheet to the cutter.
- Using a glass-cutting tool with a diamond tip or metal wheel, the cutter scored and broke the glass so it matched the pattern. The shape was further refined using a pair of groziers, or soft-tipped pliers. After each piece was cut, it was affixed in place on an easel.
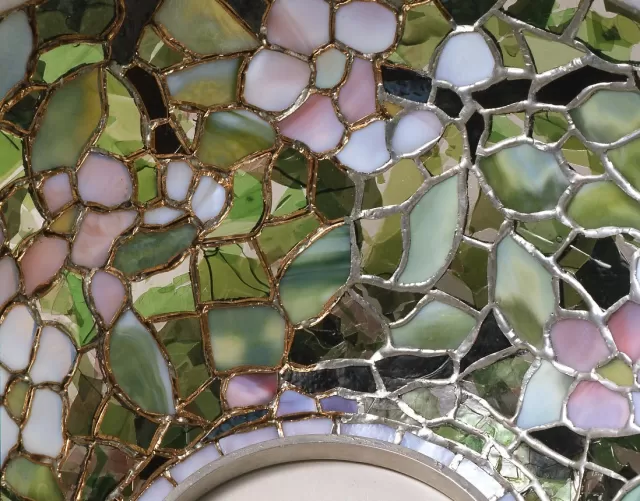
- Once the cutting was complete, the edges of each piece of glass were wrapped in thin strips of copper foil, with a slight overlap on the front and back.
- Lampshade assembly began by setting a brass ring on top of the mold. One by one, the wrapped pieces of glass were placed on the mold, brushed with flux, and soldered together using a hot soldering iron.
- After all of the pieces were assembled, the shade was lifted off the mold, turned upside down, and solder was applied to the copper foil on the inside.
- To stabilize the lampshade, a brass ring was soldered onto its bottom edge.
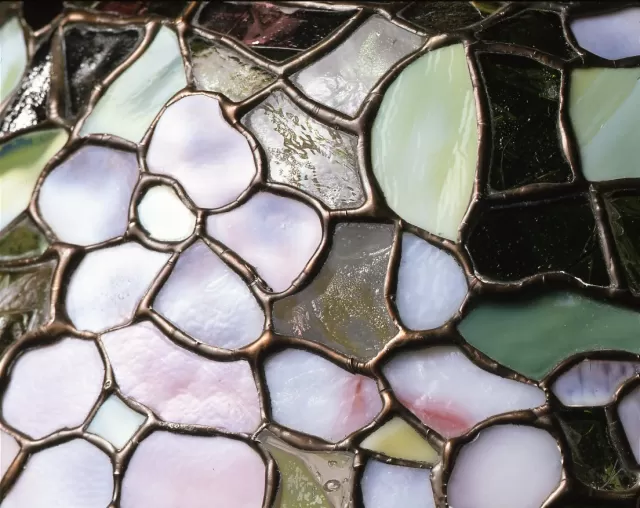
- The final step in the fabrication process was to apply a patina, typically bronze or gold, to the silver solder lines.
Image

Image

Image


